

Workflow
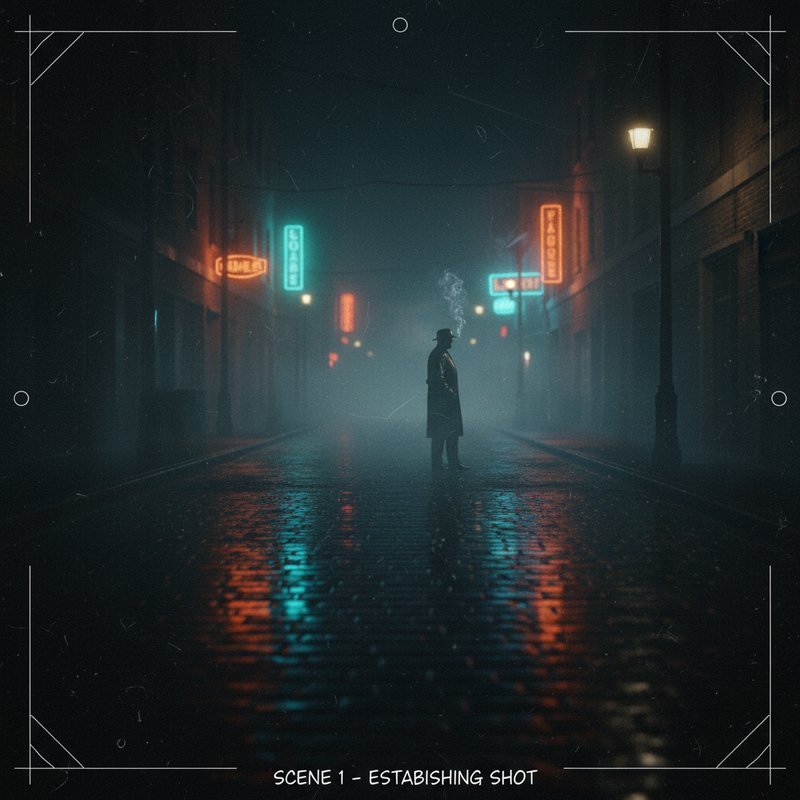
Director Storyboard + Establishing Shot
Beat sheet → storyboards → reference frames → cinematic opening shot.
Cinema10 nodes7 edges
Workflow Canvas
Auto‑layout left → rightNodes
10
Visual steps in this workflow.
Edges
7
Data hand‑offs and dependencies.
Workflow Steps
Ordered by graph layoutStep 1 • LLM
Write a 4-beat outline for a noir alley scene: arrival, tension, reveal, escape.
Write a 4-beat outline for a noir alley scene: arrival, tension, reveal, escape.
beat
Step 2 • Image
Noir moodboard: rainy alley, neon sign glow, long shadows, film grain
Noir moodboard: rainy alley, neon sign glow, long shadows, film grain
mood
Model: flux-2-proRatio: 16:9
Step 3 • Image
Upload character reference
refChar
Model: nano-banana-proUpload
Step 4 • Image
Detective character close-up, wet trench coat, cigarette smoke
Detective character close-up, wet trench coat, cigarette smoke
char
Model: ideogram-characterRatio: 3:4
Step 5 • Image
Storyboard frame 1: wide alley, rain, neon reflection
Storyboard frame 1: wide alley, rain, neon reflection
board1
Model: flux-2Ratio: 16:9
Step 6 • Image
Storyboard frame 2: silhouette reveal, backlight, mist
Storyboard frame 2: silhouette reveal, backlight, mist
board2
Model: flux-2Ratio: 16:9
Step 7 • Image
Start frame: empty alley, rain streaks
Start frame: empty alley, rain streaks
startFrame
Model: flux-2Ratio: 16:9
Step 8 • Image
End frame: detective steps into neon, fog swirls
End frame: detective steps into neon, fog swirls
endFrame
Model: flux-2Ratio: 16:9
Step 9 • Video
Slow dolly into the alley, rain on lens, neon flicker
Slow dolly into the alley, rain on lens, neon flicker
establish
Model: veo-3.1-fastRatio: 16:9
Step 10 • Video
Add subtle film grain and teal-orange grade, keep contrast
Add subtle film grain and teal-orange grade, keep contrast
grade
Model: kling-o1Ratio: 16:9